Easy Papercraft Dungeons & Dragons Miniatures
Published:
Google Drive link to templates, examples, and spreadsheet for document setup. (Examples shared use artwork from Rise of the Drow, published by AAW games. I have permission to share it, and would discourage sharing any minis you make without asking permission from the creators.)
Minis can be a time consuming and expensive aspect of the D&D hobby. Even with a 3D printer, it still takes quite a bit of time and effort to get perfect prints at that scale and I really hate painting.
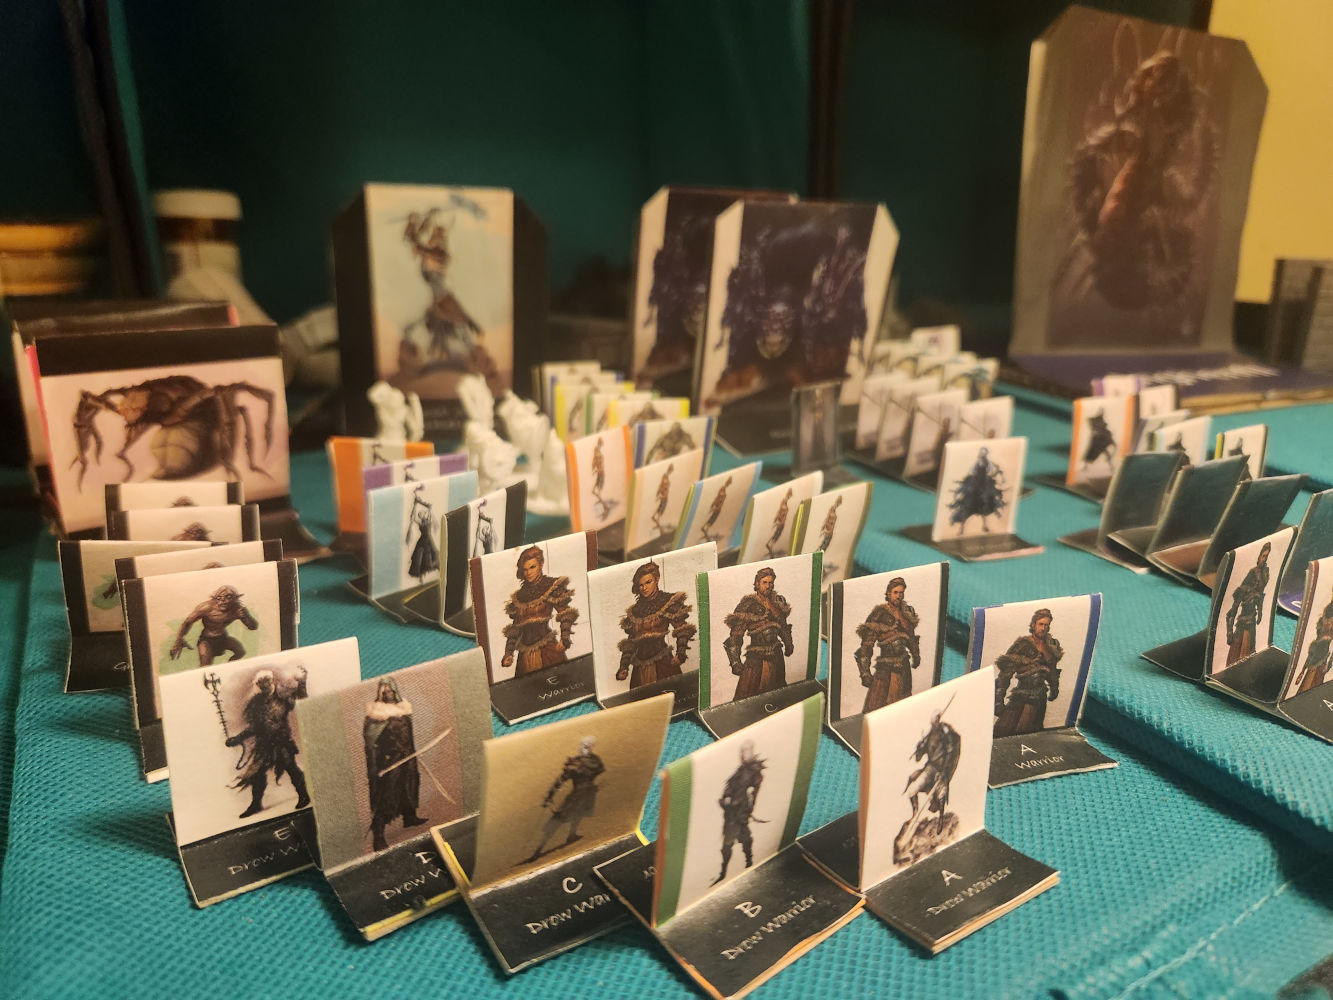
That’s why I created this mini template for paper minis that stand up on their own. There are tons of templates for “standees”, but I wanted something that I can just grab and go and drop on the table. I’m really happy with how they turned out and use them in all of my games.
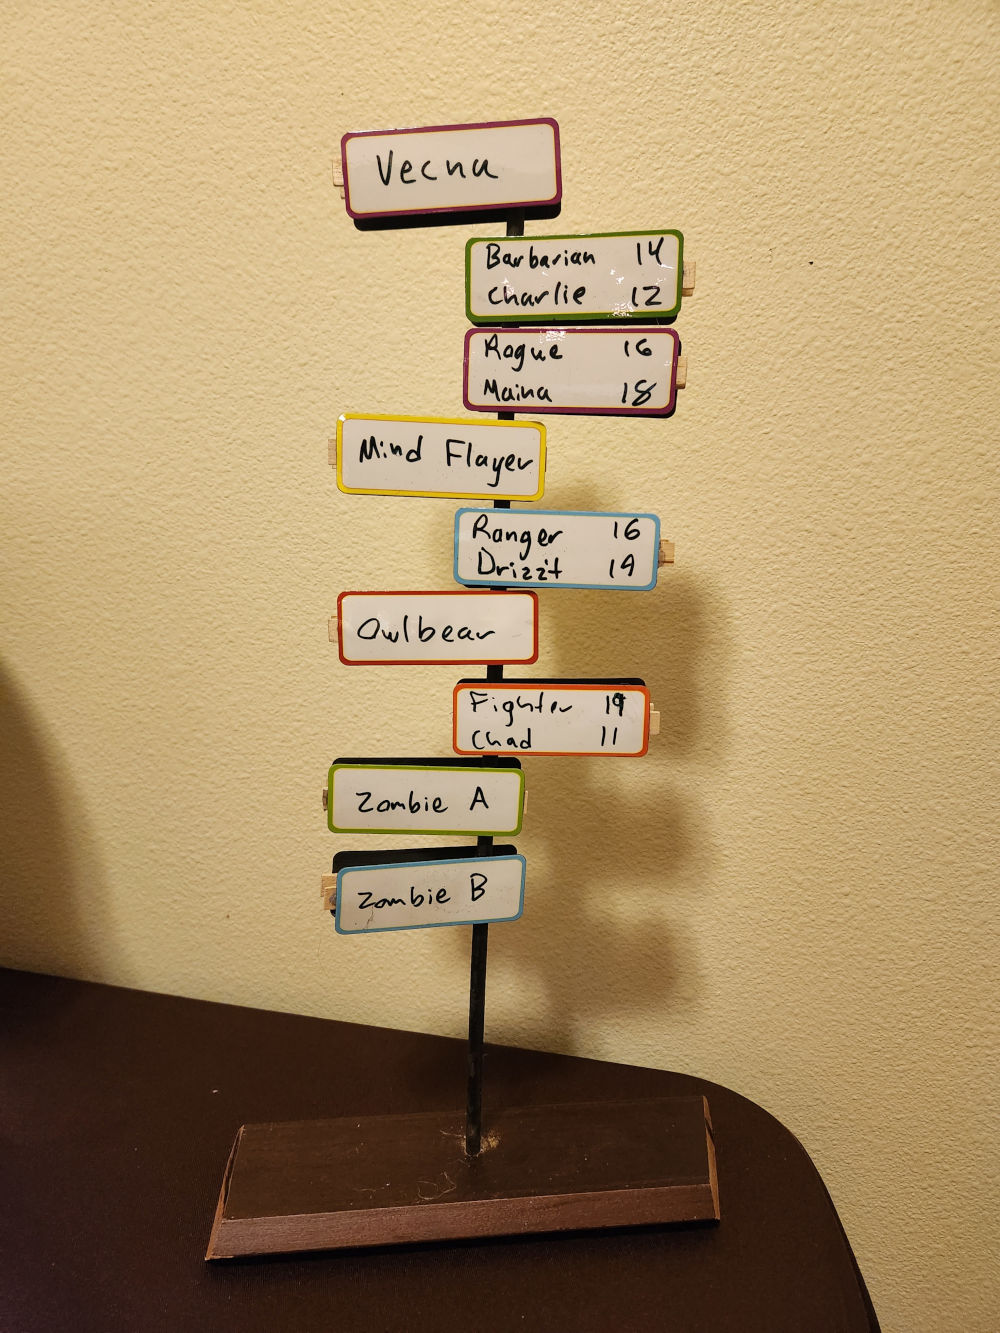
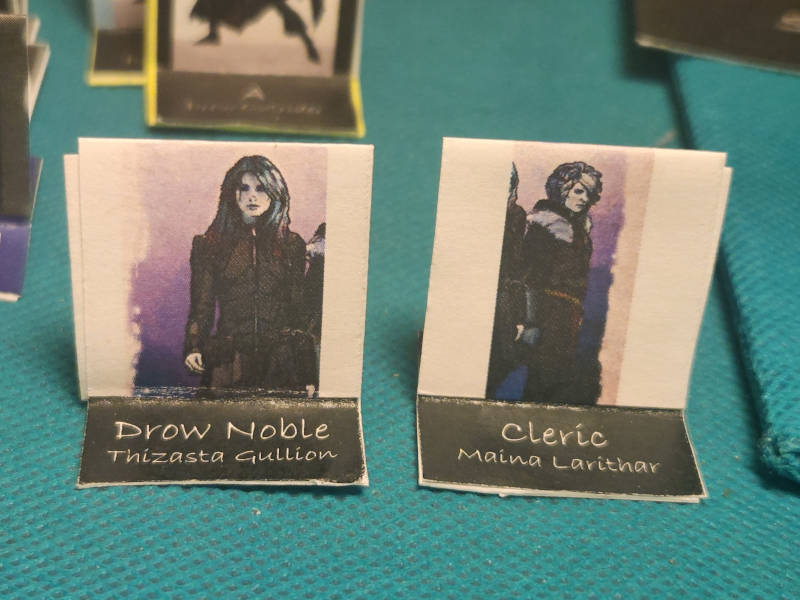
It’s also very handy for creating one-off minis for named NPCs and having their name and art represented on the table.
Design
This is what the minis look like in PDF form.

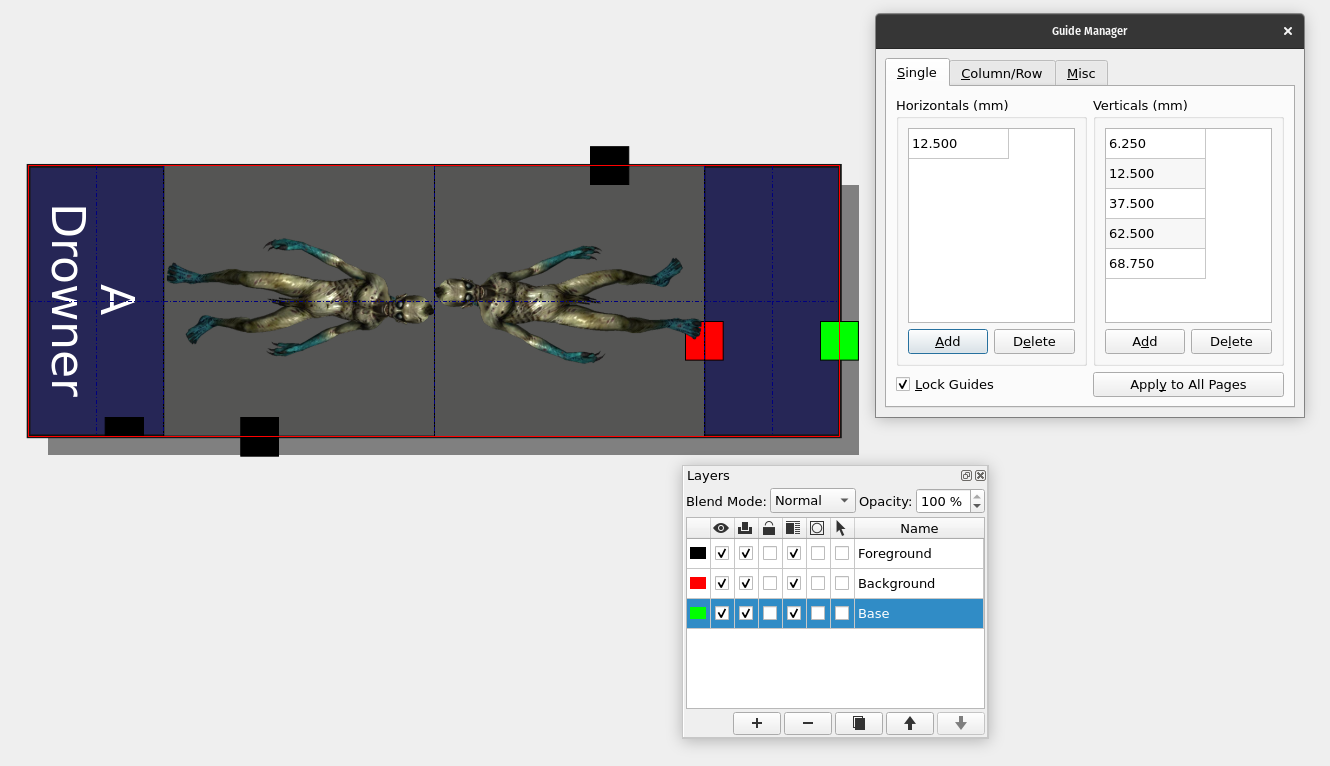
I’ve published templates for Scribus and InDesign, which you can download here. I’ve also shared a spreadsheet with dimensions for recreating these templates in any design or photo editing software, which you can download here. (Dimensions are in millimeters.)
Use the dimensions in the spreadsheet to create the document size and guide lines for any given mini size. Here is an example in Scribus, where the guides menu is opened from Page > manage Guides.
Swap out the image with one for your new mini.
A few suggestions:
- Give it a name - even if you want to keep your monster name a secret, naming your mini can help you call it out on the table.
- Give it a letter - like in the old RPG games, it’s handy to have enemies labeled A, B, C, D, E, etc. This makes it easy to call out on a table.
- Text on one side - if you aren’t using front and back images, the text informs what direction the mini is facing.
Printing
This is pretty straightforward, but there’s a hack that only seems to work properly with Adobe Acrobat at this time. You can print a full sheet of these at scale to save paper. Select multiple pages per sheet in the printing options. Keep the scale at 100%, and select the appropriate number of rows and columns for your mini size.
Be aware that on all of the open source PDF apps I’ve tried, multiple sheets per print will only provide the option of scaling to maximize the fit for a given number of rows and columns rather than maintaining their scale with white space.
Finishing
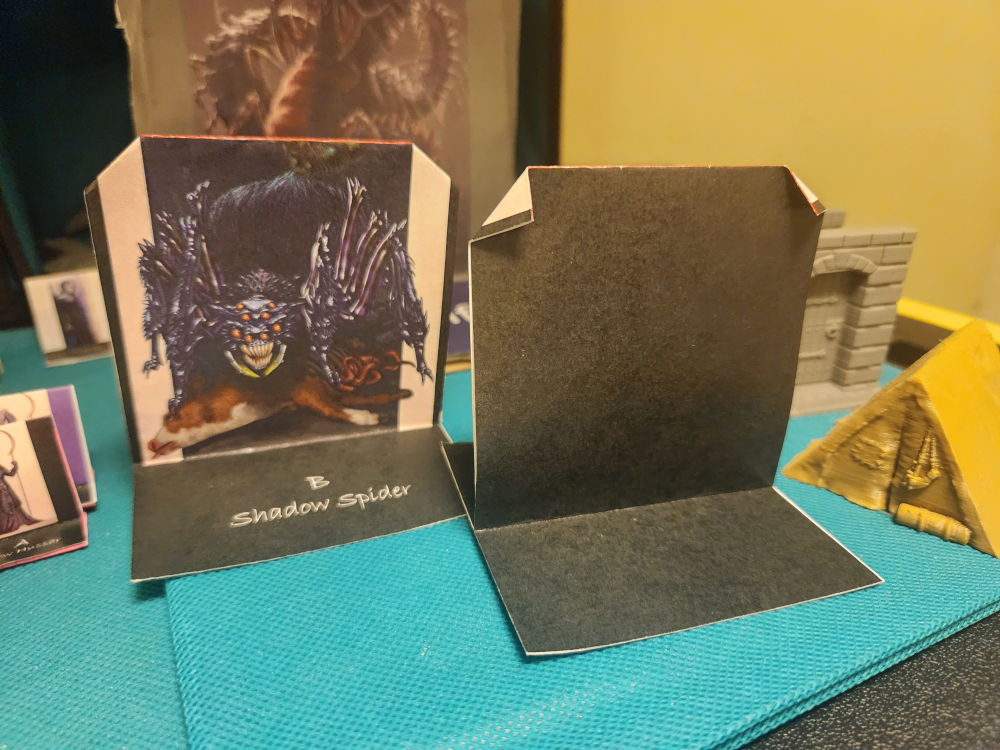
Cut them out, along with 1” (or an appropriate width for your mini size) strips of index cards or card stock. Then fold and combine them and glue like in the picture below. Glue sticks work best, but if you don’t have that handy then wood glue works great.
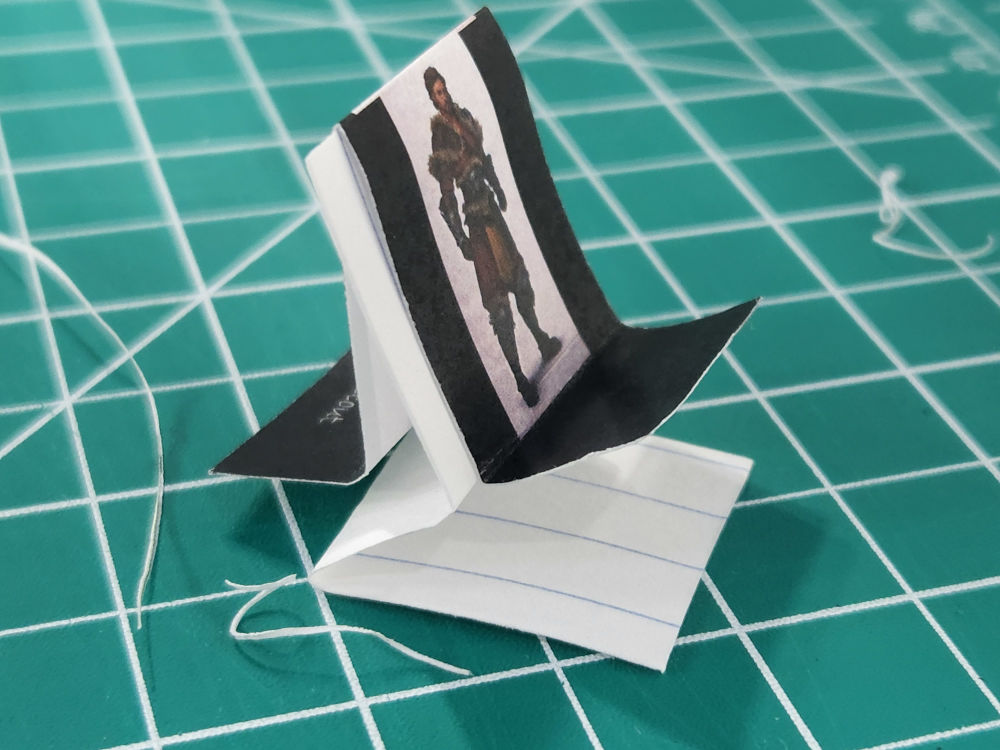
For larger minis, you may not want to use card stock in the middle but instead just the base. They seem to maintain their shape better when the corners are crimped, like below, and use extra glue inside the fold. I’ve printed up to 7” tall gargantuan minis like this.